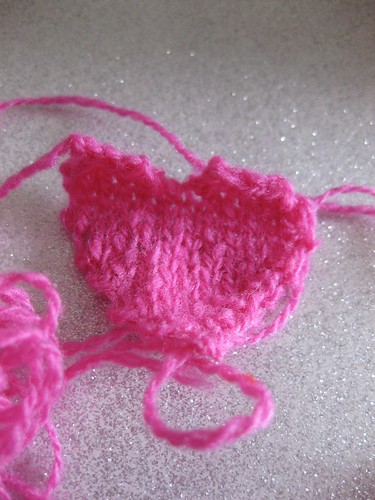
Hearts, hearts, everywhere.
The house is filled with hearts.
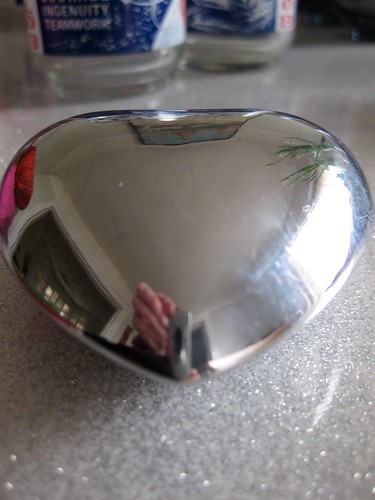
We have a 'meditation ball' heart that has a very satisfying bell that clangs in it.
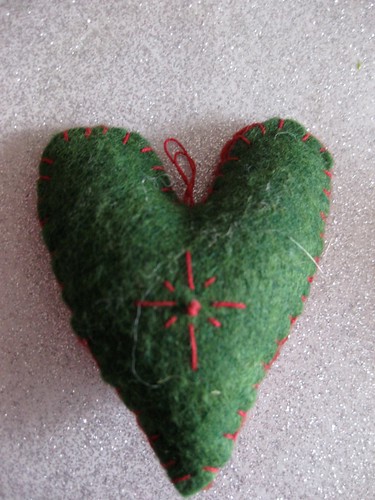
I made some heart ornaments at Christmas time. (with the FELT in-house).
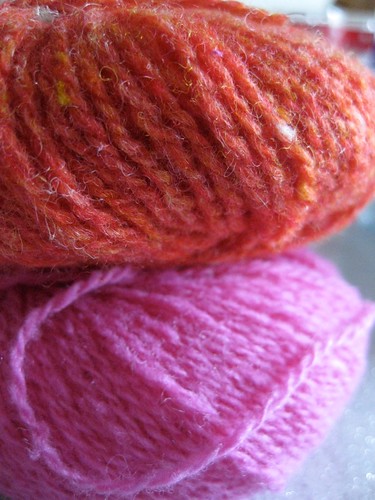
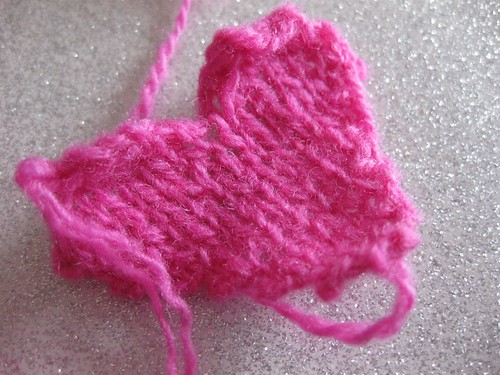
And now, I am knitting for our Iron Craft Challenge!
(on size 2 needles. Lucky these suckers are small. )
Friday, January 28, 2011
Tuesday, January 25, 2011
Challenge 4: Coffee
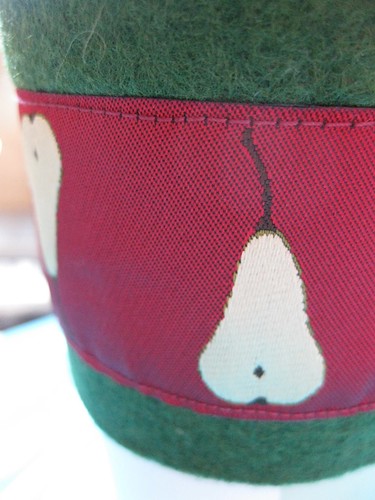
Challenge 4: Coffee Cozy.
Here it is, two years later, and I have just now gone back half caff. HALF caff! I'll be back to 'coffee' by the time the little angel goes to High School.
That said, I do love coffee, and our coffee shop in particular.
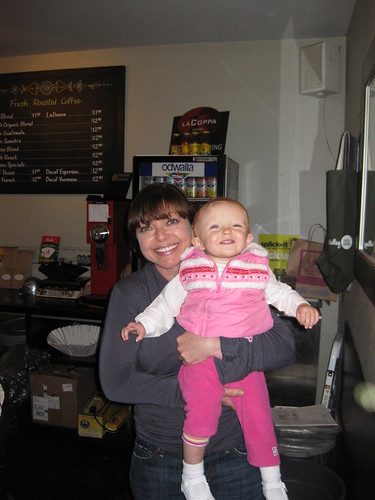
Bernie's is on 24th Street in Noe Valley. I have known Bernie herself for years now, and she is a fire cracker, a sharp business woman, and a great gal.
Plus, she and little A have a bond.
Since "Jambi" has known what's good for her, she has loved Bernie.
(I have a whole set of pictures chronicling their love. But I'll stop there. )
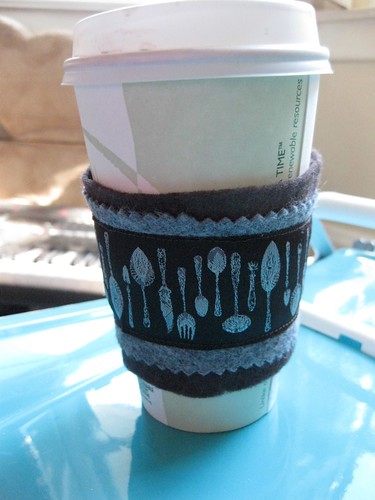
The amount of paper that is in all of our lives is just obscene. The cardboard coffee cozies have long jumped out at me as a 'waste'. So I wanted to create something a little bit less 'disposable' for this challenge.
I have a felt obsession.
I also have a ribbon collection.
So I married the two.
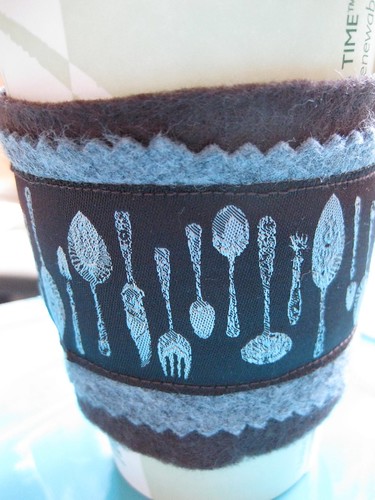
Gray and chocolate brown with the 'cutlery' ribbon.
And I know someone else has a piece of this ribbon in their collection as well! But I'm not naming names.
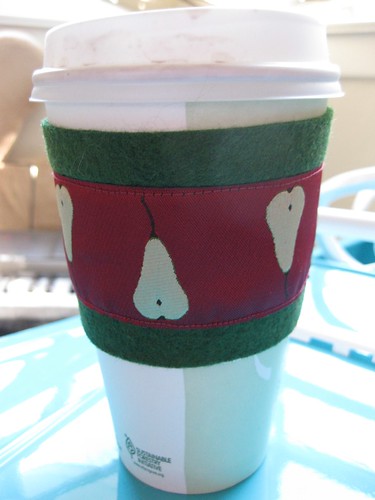
And then the fabulous pear ribbon on deep green.
I love the tiny green detail on the edge.
Yum.
I started to quilt a tiny quilt cozy. But life got in the way of that. Toddler, dinner plans, a visit from my brother... all lovely distractions.
I cannot WAIT to see what you all did.
Happy Wednesday to all of you.
Monday, January 24, 2011
In the workroom
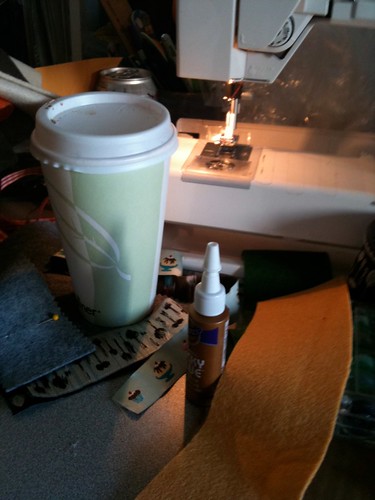
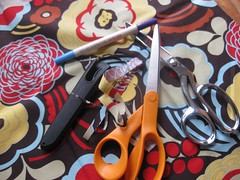
Here is a workroom photo of the Coffee Cozy progress.
I have to say, after all the Project Project Runway challenges last year, it feels like 'cheating' when the glue comes out.
(In the 'real' Project Runway, designers have been called out for using glue instead of planning ahead, and hand stitching their work.)
The dimensions of the coffee cozy make it nearly impossible to get under the machine needle to close it off. So the glue came out. Finished results will be posted on Wednesday.
Tuesday, January 18, 2011
Bunting
I had not heard the term "bunting" until I met my English husband. I always just referred to those triangles as "used-car-lot flags - you know the ones?" "Bunting" is easier, and much more charming.
This challenge really was hard for me. Only because I have already created all the garlands that my house could ever hold.
We have "cup cake garland" for birthdays.
And we have the magical "christmas lights" for the holidays.
I made a string before we knew if Amelia was a boy or a girl.
I wanted to hang them over her crib. Ha. Space restrictions, and safety concerns made this impossible. But I still love the piece.
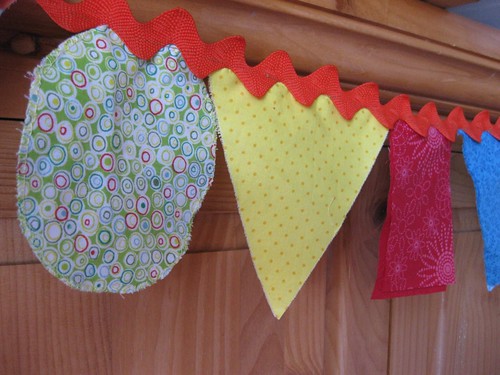
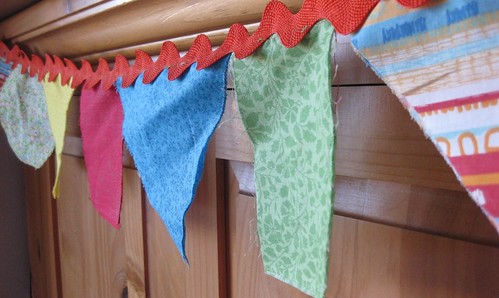
For this challenge I got it out, and 'finished' it. I sewed the pieces to rick rack.
Now, they are ready to come celebrate birthdays or other fun times!
My goal for this 'game' (in the broadest sense) is to not make things that will not be used again in the house. I do not want to buy anymore 'things' to bring in to our space. And I do not want to bulk out my 'stash'.
With so many great garlands in residence, I was searching 'outside the box'.
Amelia and I were over at Kate's house, and she brought this cool thing out to show us.
She had a stack of paper strips in her hand, and she pulled on the top, and they unfurled in the most beautiful twirling, dancing paper hanging. !!! I gasped. Amelia was enchanted.
"Where did you get that? Did you make it?"
(and this is the best part)
Kate was at huge moving sale for a local party planner/stylist/Mommy/Blogger who is moving to France for a year! Kate had read about the sale on-line, and gone, and found these spectacular things. She saw them in a box, but, because she had seen them on the blog, she knew what they were, and how wonderful they looked.
I knew immediately that I would try to make these for our week 3 challenge.
Here it is, all folded up:
And hanging in the wind.
And in the house.
I did not know there was a tutorial. ! But there is. So you can crank out 2 or 3 or 12 of these.
Have fun!
Monday, January 17, 2011
"Just Bunt" in the workroom
Wednesday, January 12, 2011
Iron Craft week 2: Draft Dodger
This week on Iron Craft, the challenge I posted was to make a Draft Dodger.
We are in San Francisco, in a house that was built the year of "the quake"(1906). There are a lot of charming details, and lots of woodwork. But, yes, for a 104 year old building, there are some 'rounded corners'.
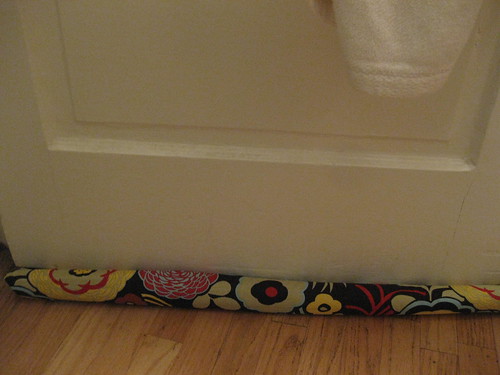
First, I made the double snake for the bathroom door.
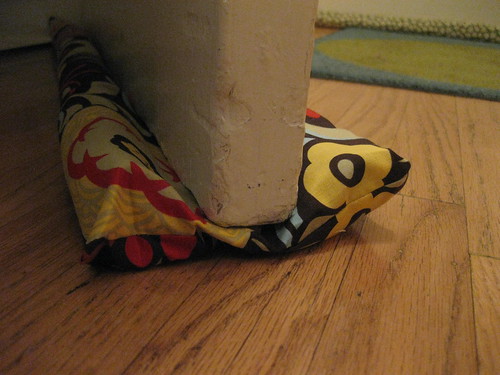
I followed the tutorial posted by Not Martha.
I added an inner tube of fabric, and I filled that with sand, and put that inside the pipe foam.
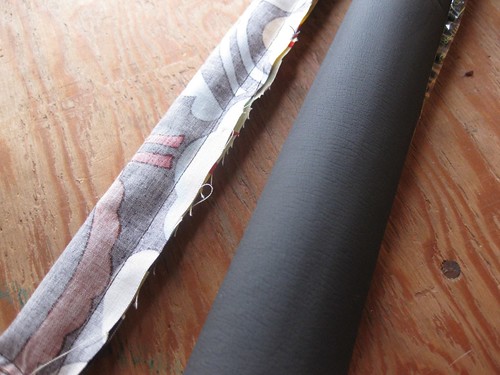
This gives it a little more weight, and heft.
Two technical notes:
I would add that the snake on the "inside" of the door needs to be about an inch shorter than the 'outside' snake. The trim work on the door frame catches the tubing and smooshes it.
Not Martha uses masking tape and an exacto to cut her insulating foam. My tube was really smooshy, and it gave way easily under my scissors. It cut like buttah'.
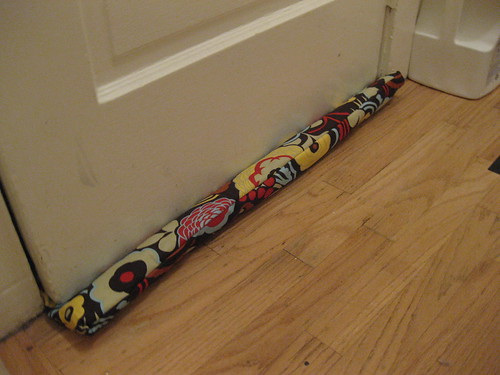
Once the first one was made and ready for the photo shoot, my husband said he liked it.(!) (Good supportive craft husband) He said "We could use one under the front door."
If you get down by the front door, you can feel the air rushing in. And yes, in fact, you can see daylight under the door. ! (Disturbing to think about how much time I have spent at floor level in the last two years. From child proofing before she could move around at the speed of light, to now, plopping down and having a tea party or roll out play dough in the kitchen, I have logged lots of time down low.)
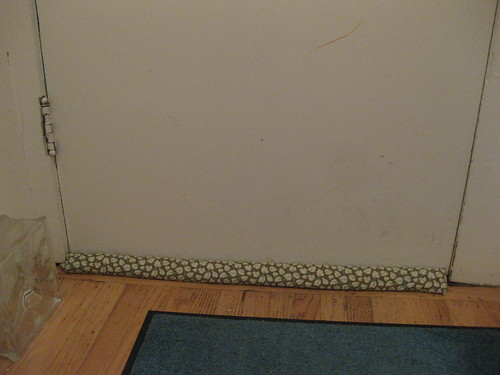
The front door snake needed to be more hearty.
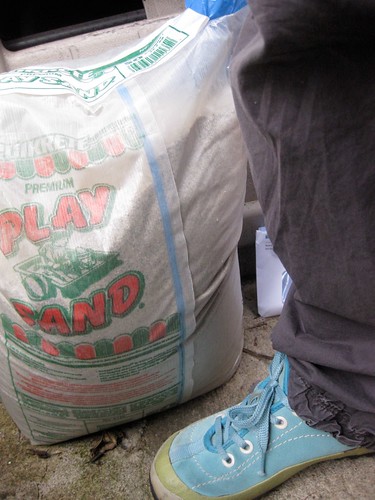
I made a big tube out of quilted fabric. And filled that with sand.
I got the sand at Lowes. There is a new Lowes that has opened near us. It is in the city of San Francisco proper. And we are irrationally excited about it. It is all clean and new and shiny and CLOSE.
Here, I submit to you a 50 lb bag of sand. It is almost immovable. There are no handles on this bad-boy, so you either get under it and dead lift it, or you get a fist grip on it and try to 'lift with your legs'. This tiny little bag is so heavy and strange that it is disconcerting.
I made two snakes, and I didn't even make a dent in this bag.
Then I sewed the casing, and just dropped the quilted sand tube in. It is a heavy tube. And it really keeps howling wind out! We put it into service last night, and we could feel the difference right away.
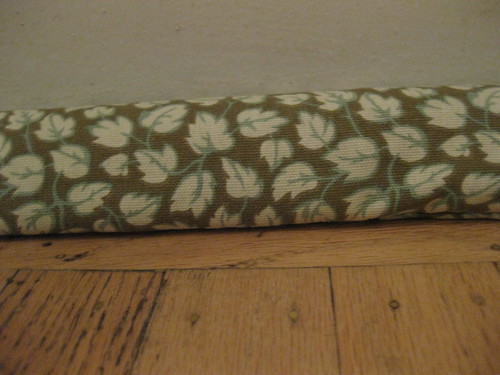
Technical note on this one: where the measurements were so important on the double snake, the measurements were not as important on this one. And while the double sided snake needed to be a touch smaller, this snake could stand to be a touch longer. If someone were starting out to make a snake for the front door, I would say go way longer than needed, and just curl the edges up. That way, you are covered.
The submissions for Iron Craft came pouring in last night and this morning. And once again, the creativity is staggering!
So many people are participating. And the things they did are so clever!
Happy New Year! Happy Crafting! Stay Warm! And stay tuned - the next challenge is being posted tomorrow morning.
Monday, January 10, 2011
Sunday, January 9, 2011
Birthday Number Two
Birthday festivies: Brought to you be a (still) sleep deprived Mommy.
While she is the most marvelous little thing on earth...
And, it goes without saying, "nothing is too good for her"... I really made an effort to try to keep a lid on it this year.
We cancelled the dove release, called off the bouncy castle, cancelled the Elephant Parade, and skipped the sky writers.
What is wrong with a homemade cake? Or a party at home? Can we make this special, without making it ridiculous? Can we stick to a budget without making it look cheap?
I was going to try.
I got it into my head that we were going to have “The Very Hungry Caterpiller” cup cake- cake.
AND I got it into my head that I would make some party favors. (Here again, in the world of favors, it is super easy to look on-line, and find lovely little age appropriate, wood, safe, beautiful toys. And before you know it, you could hire Curly the Clown for what you would spend to give out 10 of these little pieces. )
I decided to make little wash clothes, with the kiddie’s initials on them.
These Mommies that I have collected around me are a little slice of sanity in a CRAZY world. The provide comfort, recipes, helpful suggestions (only when asked), and endless encouragement. I wanted to make something that is a little nod to them. “life is messy. I think you are fabulous. Here is a little embroidered wash cloth for the bath, or meal time, to remind you that this mess is generated by your joyous beast. Thanks for all you do. ”
So, to review, homemade cake, and individualized party favors. Hmmm. Project manage much? Time line? Sleep?
Whatever.
I cut out the initials, and ironed them down onto the wash clothes. Then I zig zagged around the letters in contrasting colors.
I baked the cupcakes. Then I colored the frosting. This was the tricky part. I wanted them to have a watercolor effect. So I made the frosting green, and then at the end, as I was scooping it into the bag, I threw in some other color. Literally. I threw in blew and yellow, and did not sir. I was stretching for the Eric Carle/stain glass feel.
I laid the cupcakes out out on paper in their cover shot caterpillar form, and drew the feet and the antennae. Then I made the head out of a piece of cake that I cut to shape, and frosted separately.
All in all – I was really excited about it. And the kids LOVED it. The green was a little more intense than I would have imagined on their little faces.
But hey, that is all par for the course at a party, no? We have found little patches of green frosting around the house now. The coffee table had a little section that had dried. It was kind of charming.
And there you go. My baby turned two. Whew!
Joy.
And immense gratitude. We are happy. We are healthy. And we dance.
While she is the most marvelous little thing on earth...
And, it goes without saying, "nothing is too good for her"... I really made an effort to try to keep a lid on it this year.
We cancelled the dove release, called off the bouncy castle, cancelled the Elephant Parade, and skipped the sky writers.
What is wrong with a homemade cake? Or a party at home? Can we make this special, without making it ridiculous? Can we stick to a budget without making it look cheap?
I was going to try.
I got it into my head that we were going to have “The Very Hungry Caterpiller” cup cake- cake.
AND I got it into my head that I would make some party favors. (Here again, in the world of favors, it is super easy to look on-line, and find lovely little age appropriate, wood, safe, beautiful toys. And before you know it, you could hire Curly the Clown for what you would spend to give out 10 of these little pieces. )
I decided to make little wash clothes, with the kiddie’s initials on them.
These Mommies that I have collected around me are a little slice of sanity in a CRAZY world. The provide comfort, recipes, helpful suggestions (only when asked), and endless encouragement. I wanted to make something that is a little nod to them. “life is messy. I think you are fabulous. Here is a little embroidered wash cloth for the bath, or meal time, to remind you that this mess is generated by your joyous beast. Thanks for all you do. ”
So, to review, homemade cake, and individualized party favors. Hmmm. Project manage much? Time line? Sleep?
Whatever.
I cut out the initials, and ironed them down onto the wash clothes. Then I zig zagged around the letters in contrasting colors.
I baked the cupcakes. Then I colored the frosting. This was the tricky part. I wanted them to have a watercolor effect. So I made the frosting green, and then at the end, as I was scooping it into the bag, I threw in some other color. Literally. I threw in blew and yellow, and did not sir. I was stretching for the Eric Carle/stain glass feel.
I laid the cupcakes out out on paper in their cover shot caterpillar form, and drew the feet and the antennae. Then I made the head out of a piece of cake that I cut to shape, and frosted separately.
All in all – I was really excited about it. And the kids LOVED it. The green was a little more intense than I would have imagined on their little faces.
But hey, that is all par for the course at a party, no? We have found little patches of green frosting around the house now. The coffee table had a little section that had dried. It was kind of charming.
And there you go. My baby turned two. Whew!
Joy.
And immense gratitude. We are happy. We are healthy. And we dance.
Wednesday, January 5, 2011
Sparkling light
The first week of Iron Craft brought me to a wall of anticipation. I set the bar so high for myself that I was ready to rewire the whole house. I had to dial it down a notch.
And then, in an 11th hour, I found the perfect thing at the Antiques Mall. (whew!)
(Let's keep in mind that 'finding' anything at the Antiques mall with a toddler in tow is a feat! Everything that sparkles, looks like a dog, or has wheels needs to be touched and examined. And if I take my eyes off of her for even a minute, we could be walking out with much more than we bargained for. In pieces. "Antiques Collective" and "toddler proof" don't really go together, do they? )
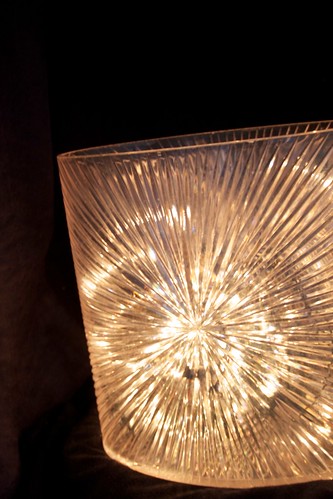
What caught my eye, was a clear, lucite, star-burst waste basket. Think old school, 'powder room' style. It is AWESOME.
I carefully washed it out, and got the lights in it, and started taking pictures.
And I realized I had something else right here at home that I was going to use too.
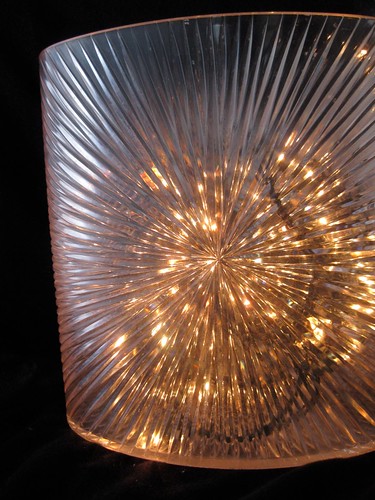
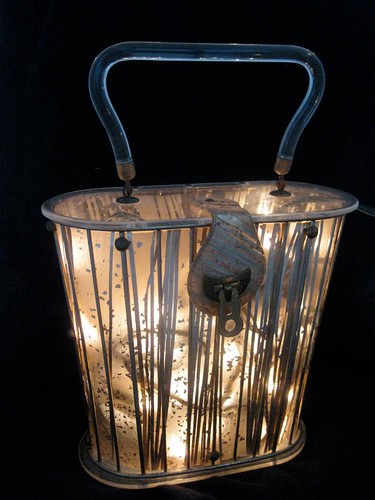
I have a little collection of early lucite purses. It is probably related to the waste basket. They could be siblings! I got the lights into the purse, and I loved that too.
I submit these to you. I'm not sure this counts as 'a craft'. It is certainly not a robust craft. Nothing was glued. Or stitched. But things were taken down, and dusted. The creative juices were flowing! Something new came into the house. Things were repurposed. And "light" was brought in.
And best of all (!!!) best of all, was my friend and I exchanged about 80 e-mails this week, about all manner of topic, glitter or not.
And you know what else? We are not alone in our love of the craft. Lots of people have clicked, commented, and signed up. There is even a Mother/Daughter/Cousin team doing the challenges. And I bet they exchanged loads of e-mails too.
Wooo Hoo. ! Bring it on. Come and join us. The water is warm!
And now, the pressure mounts again. What will I produce for MY first challenge?
Aaaah. Stay tuned!
Thursday.
Tuesday, January 4, 2011
Croc votives
For the first Iron Craft Challenge we are bringing light into the house.
The open ended nature of this assignment has been wonderful. And I have laughed at some of the interpretations that came to my mind.
Does this mean I should take a picture of the scale, as a "before" shot?
Can I document all the bags going off to Goodwill? The house will certainly be "lighter" after that.
I have finished my actual project.
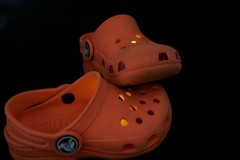
Here is an out take from the photo shoot. The real answer to 'more light in the house' is the little beast that wears these mini shoes. She is the light in every room. Even when she sleeps.
(Gushing over. )
Monday, January 3, 2011
Iron Craft Challenge, Week 1
The first Challenge was posted to Iron Craft. It is a project that 'brings in the light'.
The inauguration of the site has me all in knots. I was thinking about turning something into a lamp. But I have nightmares about the results.
And just when I thought I had gotten ahold of myself, and had a way to approach the project, Craft published us on their site. (Thanks Craft!) And the pressure from the Craft-Shout-Out dialed me up another notch.
I need to stop thinking "electrify a plane fuselage"
and shoot for "festive votive" instead.
* this picture is actually a back lit section of an airplane, done by Todd, at Telstar Logistics. Shown in much greater detail here. He could not be more clever!
Off I go!
"Realistic" is the word of the hour.
Please, come join us! "Let in the Light!"
Subscribe to:
Posts (Atom)